
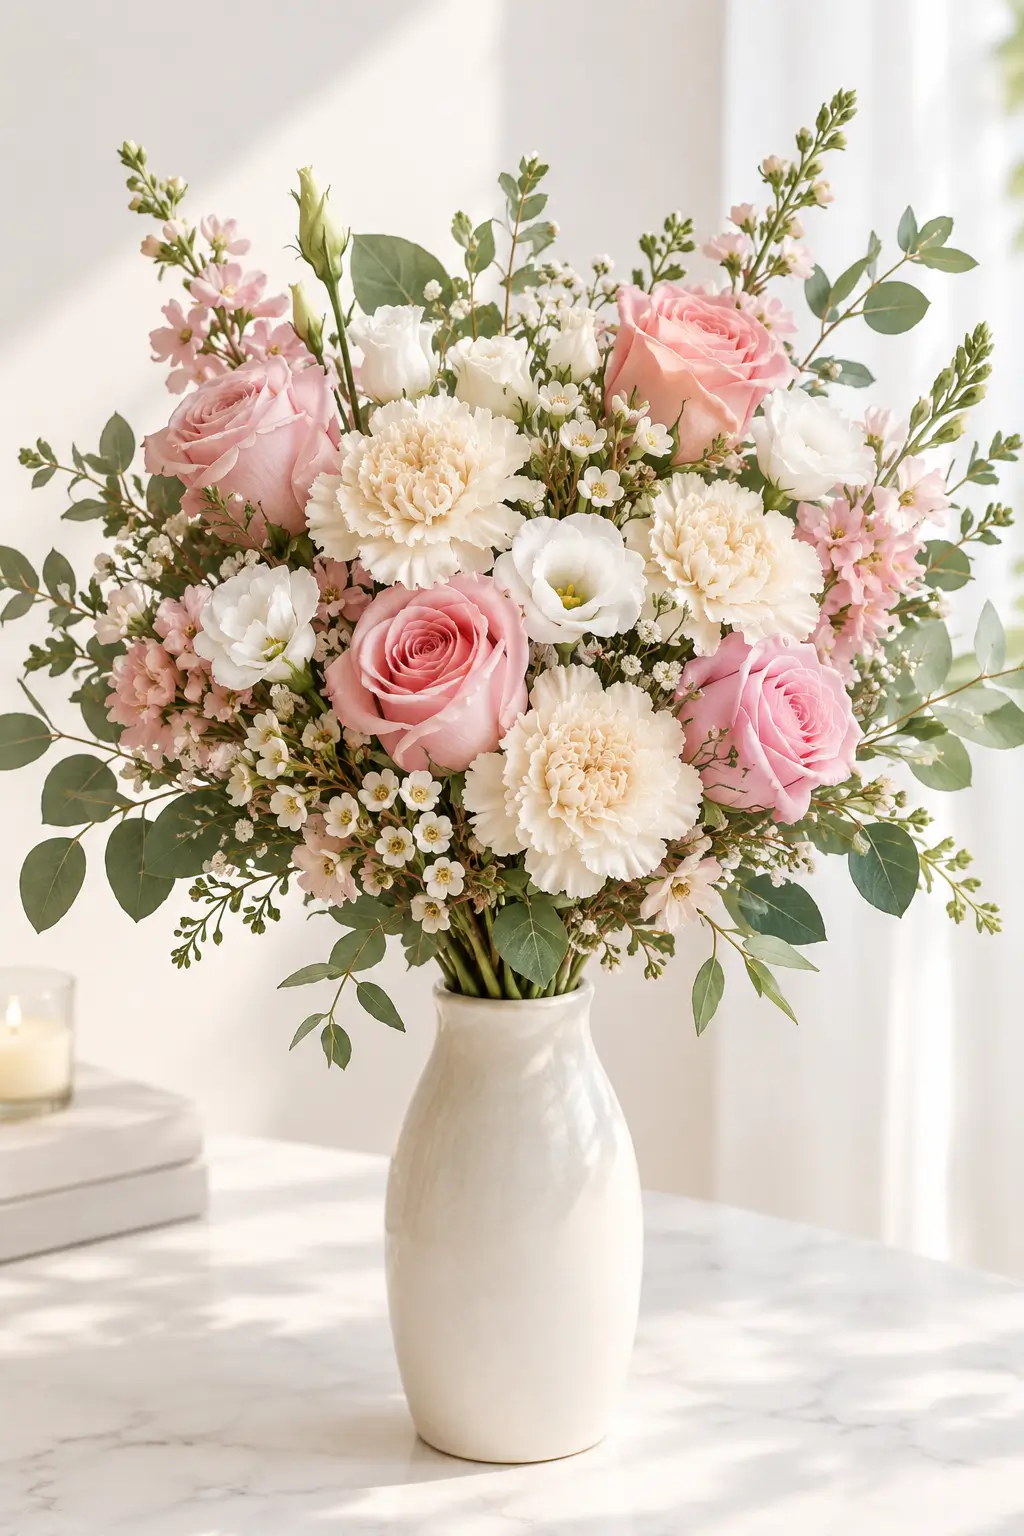
How to make a flower bouquet at home: choose fresh focal flowers, a few smaller supporting blooms, and greenery, remove leaves that would sit in water, arrange the stems in a loose spiral, tie the bundle, and trim the ends. A thoughtful DIY flower bouquet needs no expensive equipment, just a clear color palette and gentle handling. This guide explains how to select flowers, prepare the stems, arrange them into a balanced shape, wrap a gift, and keep the bouquet fresh. Start with a small design and adjust it as you work.
Quick Answer
To make a flower bouquet, choose fresh focal flowers, smaller filler blooms, and a little greenery. Remove leaves below the waterline, build a balanced shape by turning the stems as you add them, tie the stems securely, trim the ends, and place the bouquet in clean water.
At a glance: Plan for about 20–35 minutes for your first small bouquet. The most important details are preparing the stems, distributing larger blooms evenly, and keeping your finished arrangement hydrated.
What You Need
- 5–9 focal stems, such as roses, tulips, or seasonal blooms
- A few smaller blooms or textured accent flowers
- Greenery, clean garden snips, twine or floral tape, and a clean vase
- Fresh water and optional clean kraft paper or ribbon
Step 1: Choose a Simple Color Palette
Start with two complementary flower colors and one neutral tone. Repeating a few varieties looks more intentional than using a different flower for every stem. For a soft romantic bouquet, try blush pink and cream. For something bright, pair yellow blooms with white flowers and deep green foliage.
Step 2: Prepare the Stems
Remove damaged petals and leaves that would sit below the waterline. Separate flowers by role: main focal flowers, secondary blooms, and greenery. Use clean snips to avoid crushing stems, and keep prepared flowers hydrated while you work.
Step 3: Build a Balanced Hand-Tied Bouquet
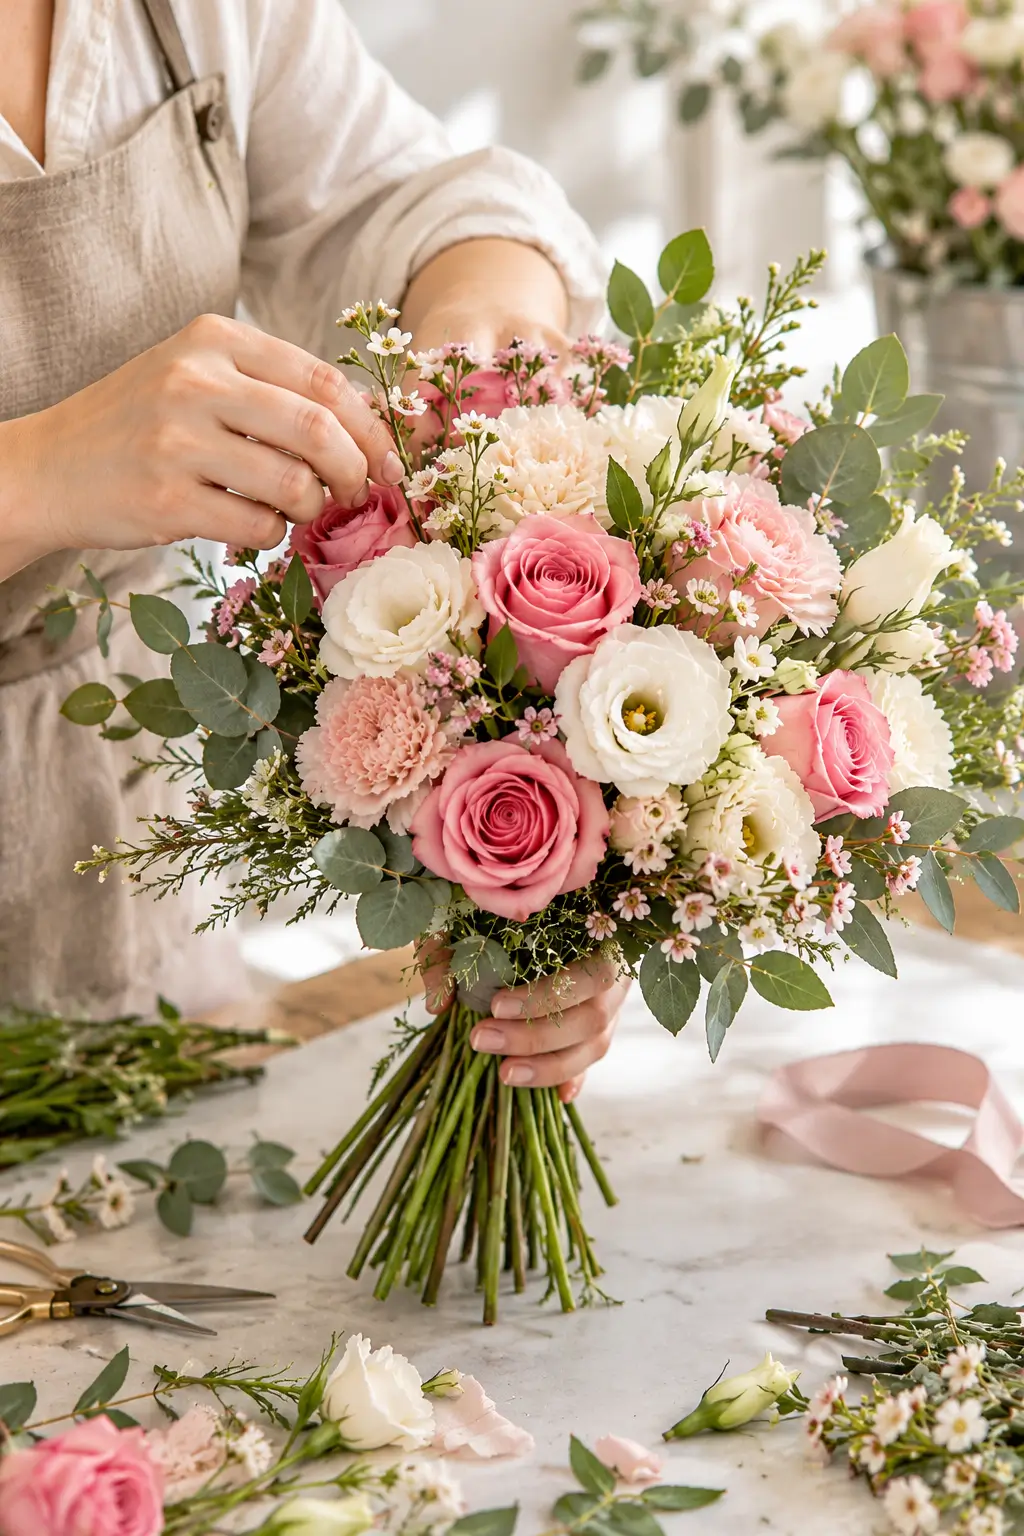
Hold one sturdy focal flower in your non-dominant hand. Add the next stem at a slight angle so the stems cross near your grip. Rotate the bundle a little, then continue placing flowers at a similar angle. Spread focal flowers throughout the arrangement and fill gaps with smaller blooms.
Step 4: Secure and Finish
Once the shape looks full from several angles, tie the stems where your hand has been holding them. Trim the bottom ends to a similar length suitable for the vase. For a gift, wrap the bouquet lightly so stems stay accessible for water, and avoid crushing delicate petals.
How to Keep the Bouquet Fresh
Use a clean vase, follow flower-food directions if provided, keep foliage out of the water, and refresh water regularly. Remove fading flowers so they do not affect the rest of the arrangement. Most cut bouquets last longer away from strong heat and direct sun.
Common Mistakes to Avoid
- Packing stems so tightly that blossoms cannot open
- Using a vase with residue or cloudy water
- Leaving leaves submerged in water
- Placing heavy focal flowers all on one side
- Leaving newly cut flowers out of water for too long
How to Make a Flower Bouquet: Plan Your Design
Start with the purpose of your arrangement. A gift carried through a graduation ceremony needs to be smaller than a vase bouquet for a dining table. Decide whether the recipient already owns a vase, and choose a manageable width and stem length. Seven focal flowers, a few smaller flowers, and three pieces of greenery can be a useful starting point, but large hydrangeas need more space than spray carnations. Look for firm stems, healthy foliage, and petals without extensive damage. Freshness matters more than a fashionable variety. A small bouquet with repeated colors often feels more deliberate than a large one crowded with unrelated flowers.
Choose Colors for a DIY Flower Bouquet
Select one leading color, a complementary shade, and a neutral such as ivory or green. Repeating these tones around the bundle gives it rhythm. Cream roses and blush carnations look gentle, while white and yellow flowers create a cheerful mood. Hold the varieties together before purchasing them; two pinks that look similar in photographs can clash in daylight. Consider the recipient’s favorite flowers first, then any traditional symbolism. Our guide to rose color meanings helps with the message behind common bouquets, but a thoughtful note is often the clearest way to explain what you mean.
Gather Supplies Before You Begin
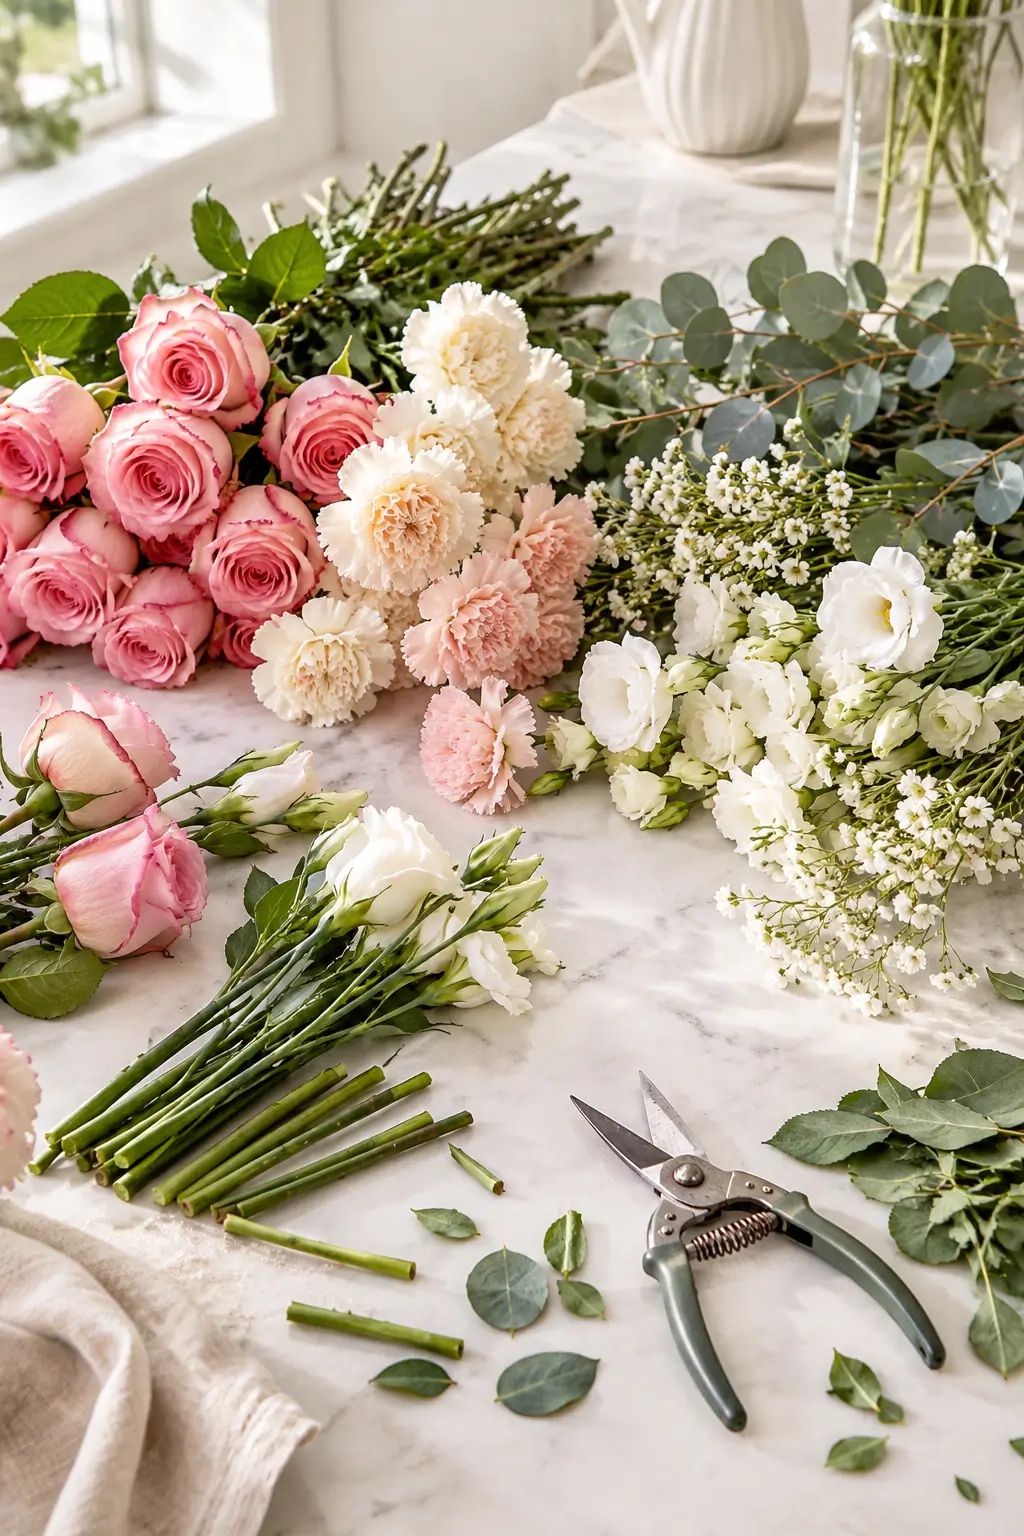
You need clean, sharp floral snips, fresh water, a washed vase or bucket, and twine or floral tape. Simple kraft paper and ribbon are optional if you intend to give the flowers as a wrapped gift. Set out a towel for drips and a small bag for discarded leaves. Sort flowers into focal blooms, supporting blossoms, and greenery before trimming. This lets you judge the available quantities and reduces unnecessary handling. Floral foam is not required for a hand-tied arrangement. If you have a limited budget, spend it on fresh stems rather than elaborate decorations that could distract from the flowers themselves.
Prepare Fresh Flower Stems
Remove leaves that would sit underwater, because decaying foliage can cloud the vase water. Inspect each stem for damage and trim its end using clean, sharp tools; dull scissors can crush delicate tissues. Place prepared stems back in water rather than leaving them on a dry surface while you work. If your flowers come with commercial flower food, mix it exactly as directed. The Penn State Extension cut-flower care guide recommends clean containers, properly mixed food, and removing submerged plant material. These simple habits support freshness regardless of whether the finished design is casual or formal.
How to Arrange Flowers in a Bouquet Using a Spiral
Hold one sturdy focal flower in your non-dominant hand, then add the next stem diagonally across it. Turn the bundle slightly and place the third stem at a similar angle. Continue in the same direction so the stems cross naturally near your grip. Distribute larger blooms around the bouquet rather than grouping them on one side. Add smaller flowers between the focal blooms and use greenery to soften the outline. Stop every few stems and look at the arrangement from arm’s length. If it feels uneven, move one stem instead of automatically adding more material. A slightly loose, natural shape is perfectly appropriate.
How to Make a Flower Bouquet Look Fuller
Fullness depends on placement and flower-head size, not only the number of stems. Separate the largest blooms so each has room to open. Position smaller blossoms between them at varied heights, and frame the outside with just enough greenery. Check the bundle from every side. A large flower tucked behind another can make the front look crowded while the back remains bare. Adjust existing stems before buying extras. This technique can make an inexpensive grocery-store bunch look thoughtful and balanced. Resist squeezing the stems too tightly, because cramped flowers are more likely to bruise during transport and may not open naturally.
Tie and Wrap Your Flower Bouquet
Once the shape looks good, tie the stems at their natural crossing point. Secure the knot firmly enough to keep the flowers together without bending soft stems. Trim the ends to a length suitable for the recipient’s vase or travel container. For a gift, position two simple sheets of paper around the lower stems, fold the sides inward, and leave the flower heads uncovered. Add a ribbon or handwritten card if you like. Wrapping is decorative, not a replacement for water. If the bouquet will travel a long distance, ask the florist about an appropriate temporary hydration wrap and avoid leaving flowers in a hot vehicle.
Keep Your DIY Bouquet Fresh
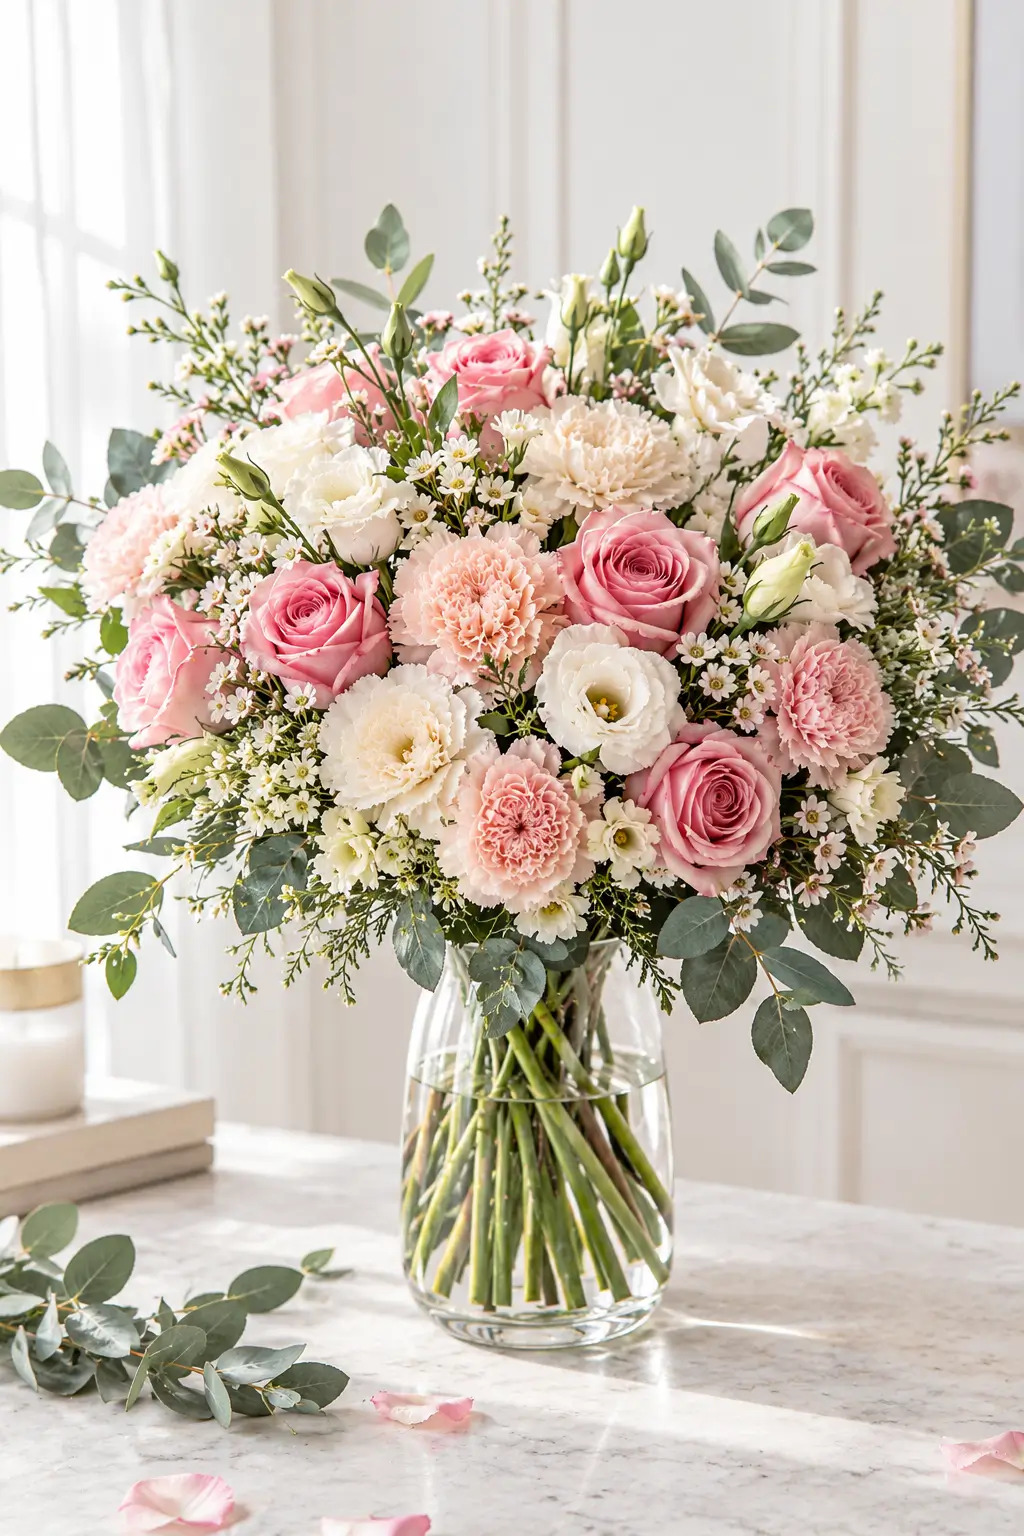
Put the finished stems in a clean vase with fresh water and flower food according to the packet. Check again that foliage will not sit below the waterline. Display the arrangement away from direct afternoon sun, radiators, and drafts. Monitor water levels and replace cloudy water promptly. Remove fading flowers as they age so the healthier blooms have space. Mixed bouquets often mature unevenly because varieties have different vase lives. Rather than discarding the arrangement when one flower fades, try moving the remaining blossoms into a slightly smaller vase. These ordinary care steps make the gift easier for the recipient to enjoy.
Common Beginner Mistakes and How to Fix Them
A bouquet that leans to one side usually has too many heavy flower heads concentrated together. Move one bloom to the opposite side and rotate the bundle to check the outline. Stems that slide apart may have been crossed inconsistently; rebuild the spiral at a single grip point before tying. If paper hides the flowers, fold it lower rather than adding a bigger bow. Cloudy water means the vase or submerged leaves need attention. A bouquet too wide to hold comfortably can be split into two smaller arrangements. Most errors are easier to solve by simplifying the design than by adding another handful of stems.
Adapt the Arrangement to the Occasion
For a birthday, choose the recipient’s favorite shades and an easy-to-carry size. For a table centerpiece, keep flowers low enough that people can see one another across the table. A romantic bouquet can use classic roses but does not need to follow a fixed symbolism rule. For a crowded graduation ceremony, compact stems and sturdy wrapping are practical; our graduation flower bouquet ideas explain suitable choices. Large peonies can make beautiful focal flowers but need more spacing as they open; see our peony bouquet ideas for examples. Match the design to real use.
Make the Bouquet Feel Personal
A bouquet does not need an elaborate professional finish to feel special. One favorite flower, a restrained palette, and a short personal note can be more meaningful than expensive wrapping. Try making a practice arrangement with a small bundle before creating an important gift. Take a quick photograph of the unfinished bouquet to spot gaps that are hard to see while holding it. Be flexible with seasonal availability rather than buying tired flowers to copy a specific reference photo. Good flower preparation, an even shape, and easy transport will matter long after the ribbon is removed.
Which flowers are easiest for beginners?
Fresh carnations, roses, chrysanthemums, and sturdy seasonal foliage are manageable choices. Choose only a few varieties and repeat them throughout the arrangement.
Can I make a bouquet without floral foam?
Yes. A hand-tied bouquet uses a spiral of stems secured with twine and placed in a clean vase of water, with no floral foam needed.
How far ahead should I arrange flowers?
The day of gifting or the previous day is often practical if the bouquet can stay hydrated and cool. Timing depends on freshness, flower variety, and transport.
How do I stop stems slipping out of the bundle?
Build the stems at similar angles around one crossing point and tie them securely. If the bundle remains loose, start over with fewer stems and add more gradually.
Conclusion: How to make a flower bouquet
In conclusion, how to make a flower bouquet is a manageable skill: choose healthy blooms, prepare them carefully, build a balanced spiral, tie gently, and provide clean water. A simple DIY flower bouquet can look personal and polished without expensive equipment. Start small, check the arrangement from every side, and let the recipient’s preferences guide the design.
Frequently Asked Questions
How many flowers do I need for a small bouquet?
There is no fixed number. Seven to twelve stems can make a lovely small bouquet, depending on flower-head size, greenery, and the desired fullness.
How do I choose a vase for a hand-tied bouquet?
Choose a clean, stable vase with an opening that supports the stems without squeezing the blooms. A medium-width opening works well for a small hand-tied bouquet; shorten the stems if the arrangement leans forward.
Explore More
Looking for a different style? Browse our bouquet ideas and flower selection guides.